Cooking a Premium Steak at Home Without Ruining It
Expensive beef is less forgiving than cheap beef, not more. The method matters most exactly when the stakes are highest.
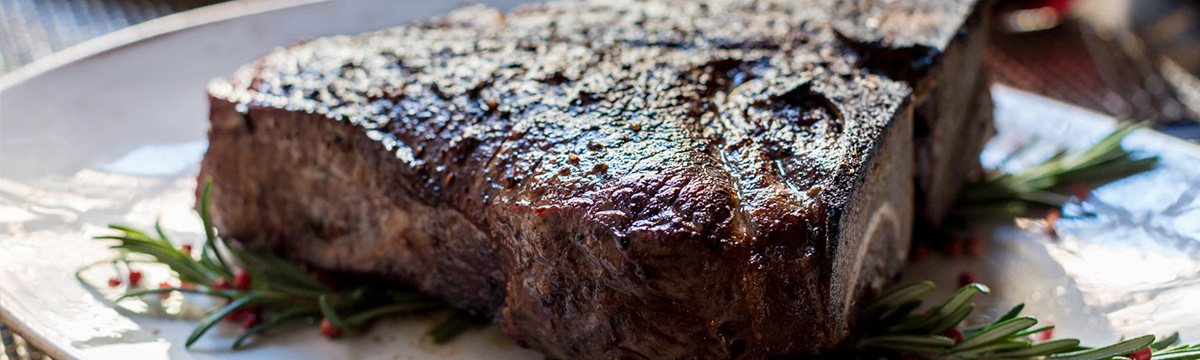
There is an unhelpful assumption that expensive beef is easy to cook because the quality carries it. The opposite is true. A well-marbled steak has a narrower window than a cheap one, and Japanese beef has a very narrow window indeed. The method below is not complicated, but each step is doing something specific.
Before the pan
Buy thick
Thickness is the single most important variable. A steak under an inch and a half gives you no margin between a browned exterior and an overcooked interior. Buy one thick steak for two people rather than two thin ones. If your butcher will cut to order, ask for at least four centimetres.
Salt early or salt immediately
There is a genuine dead zone. Salt draws moisture to the surface within minutes; it takes around forty minutes for that brine to be reabsorbed. So either salt just before cooking, or salt at least forty-five minutes ahead — ideally several hours, uncovered in the refrigerator, which also dries the surface and improves browning. Salting fifteen minutes ahead gives you the worst of both.
Dry the surface
Water is the enemy of browning, because the surface cannot exceed 100°C until it has evaporated. Pat the steak completely dry immediately before it meets heat. This one step separates a good crust from a grey one.
Temper, but do not obsess
Twenty to thirty minutes out of the refrigerator helps slightly. Two hours does not help more and is a food safety question. The effect is real but modest.
The method that works most reliably
Reverse searing — low heat first, then a hard sear — gives the most consistent result on thick steaks and is much harder to get wrong.
1. Low oven
Place the steak on a rack over a tray in an oven at 110–120°C. Cook until the internal temperature is about 10–12°C below your target. For medium rare, pull at roughly 48°C. Depending on thickness this takes twenty-five to fifty minutes.
2. Rest briefly
Five minutes. The surface dries further, which helps the sear.
3. Sear hard
Cast iron or carbon steel, as hot as you can safely get it, with a high-smoke-point oil. Sear sixty to ninety seconds per side. Do not move it around; contact time is what builds crust.
4. Butter at the end, not the start
In the last thirty seconds, add butter, a crushed garlic clove and thyme, tilt the pan and baste. Butter added earlier burns and turns bitter.
5. Rest again
Five to ten minutes on a warm plate. Cutting immediately releases the juices onto the board instead of leaving them in the meat.
Target temperatures
| Doneness | Pull at | Final |
|---|---|---|
| Rare | 46°C | 50–52°C |
| Medium rare | 48°C | 54–57°C |
| Medium | 54°C | 60–63°C |
| Medium well | 60°C | 65–68°C |
Buy a probe thermometer. Every other method of judging doneness — timing, the finger test, cutting in to look — is markedly worse, and on an expensive steak the cost of a thermometer is recovered the first time you use it.
Adjusting for the beef
Dry-aged
Less surface moisture means faster browning, so drop the sear temperature slightly and watch it closely. Salt more lightly — the flavour is already concentrated. Serve it plain; a heavy sauce buries what you paid for.
Australian Wagyu
Treat as a rich conventional steak, but expect more rendering. Have a way to deal with hot fat in the pan, and keep the heat marginally lower so the fat renders rather than burns.
Japanese A5 or certified Kobe
Different rules entirely.
- Portion small. Two to three ounces per person. This is not meanness; it is the correct amount.
- Cut it before cooking. Slice into strips two to three centimetres wide rather than cooking a whole steak.
- No oil. The beef renders enough fat within seconds. Add nothing to the pan.
- Seconds, not minutes. Thirty to sixty seconds per side on a hot, dry pan.
- Salt only. Flaky salt, perhaps a little wasabi or ponzu on the side. Nothing else.
- Serve with something sharp. Pickles, a dressed salad, or plain rice. The palate needs relief.
The classic mistake with Japanese beef is treating it like a steak: full portion, long cook, rich sides. The result is overwhelming and disappointing at the same time, which is a painful outcome for the price.
Slicing
Find the direction of the muscle fibres and cut across them. This shortens the fibres and makes every bite more tender. It matters enormously on skirt, hanger and flank, meaningfully on strip, and less on tenderloin — but it never hurts.
What to do with the pan
Do not waste the fond. Pour off excess fat, deglaze with a splash of wine, stock or water, scrape the browned bits up, and reduce for a minute. Poured over the sliced steak, that takes thirty seconds and is better than any bottled sauce.
About this site. 212steakhousenyc.com is an independent editorial publication. It is not affiliated with any restaurant, supplier or certification body mentioned here, and it takes no bookings or enquiries. Details about any venue should be verified directly before you act on them. See our editorial policy.
More from the blog
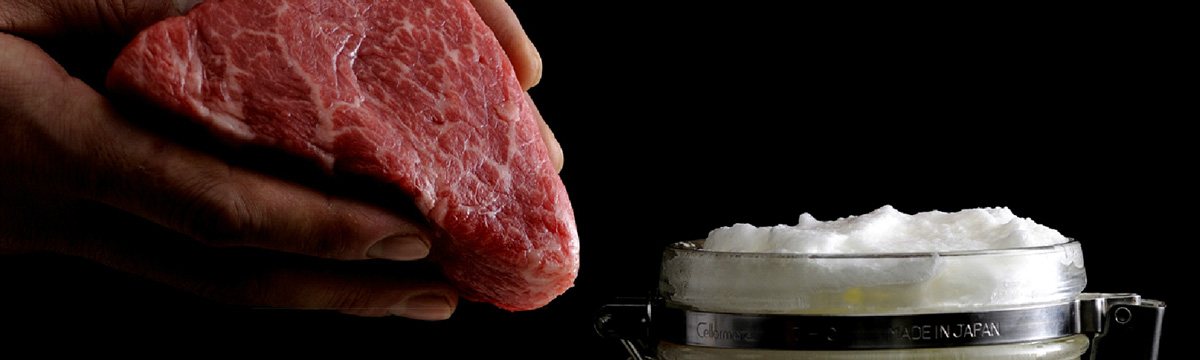
Authentic Kobe Beef vs “Kobe-Style”: How to Tell the Difference
Six requirements separate certified Kobe from the marketing term that borrowed its name. Here is what each one means and how to check.
Read more →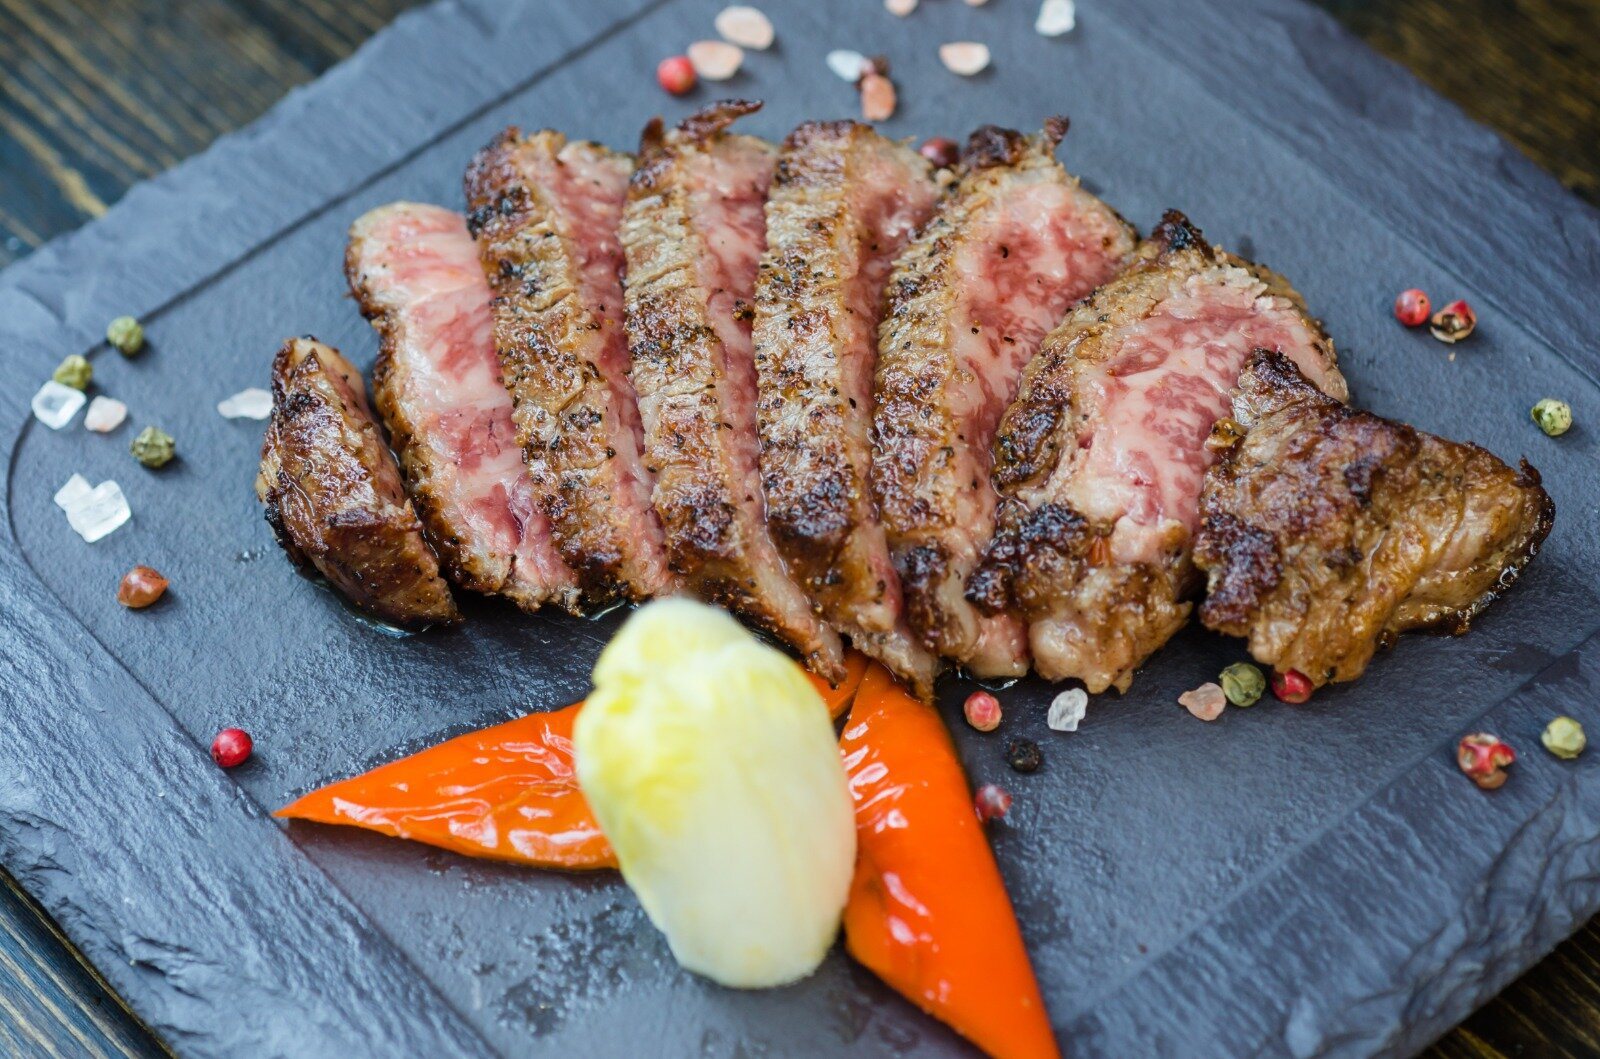
Wagyu Grading Explained: A5, BMS and What the Numbers Actually Mean
A5 is two separate scores stuck together, and the number most people care about isn't either of them. Here is how the scales actually work.
Read more →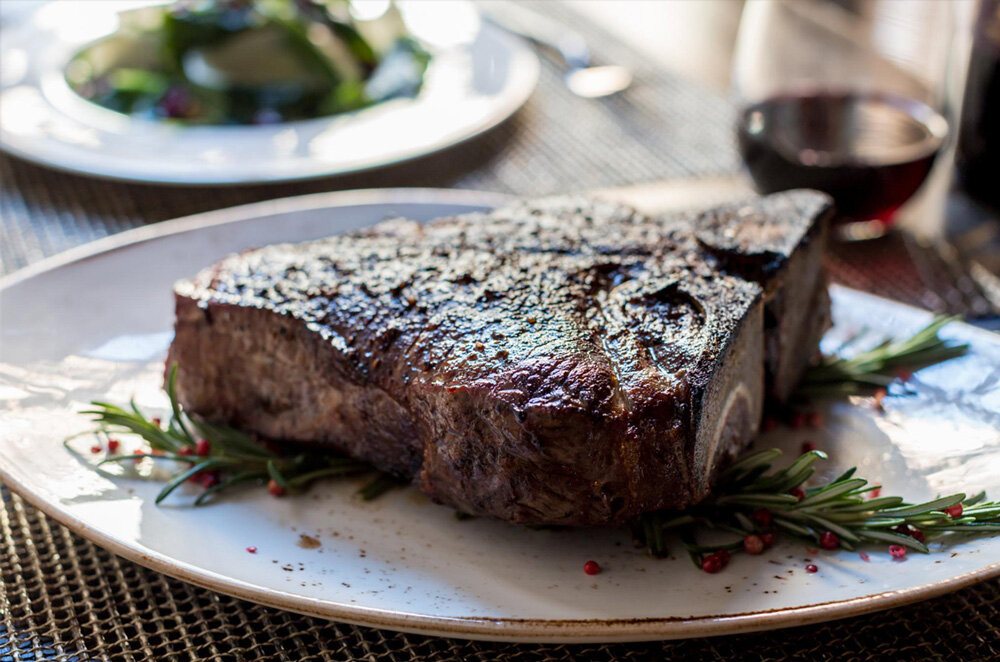
A Steakhouse Cuts Guide: Ribeye, Strip, Filet, Porterhouse and the Rest
Where each cut sits on the animal explains everything about how it eats. A practical guide to the whole menu.
Read more →